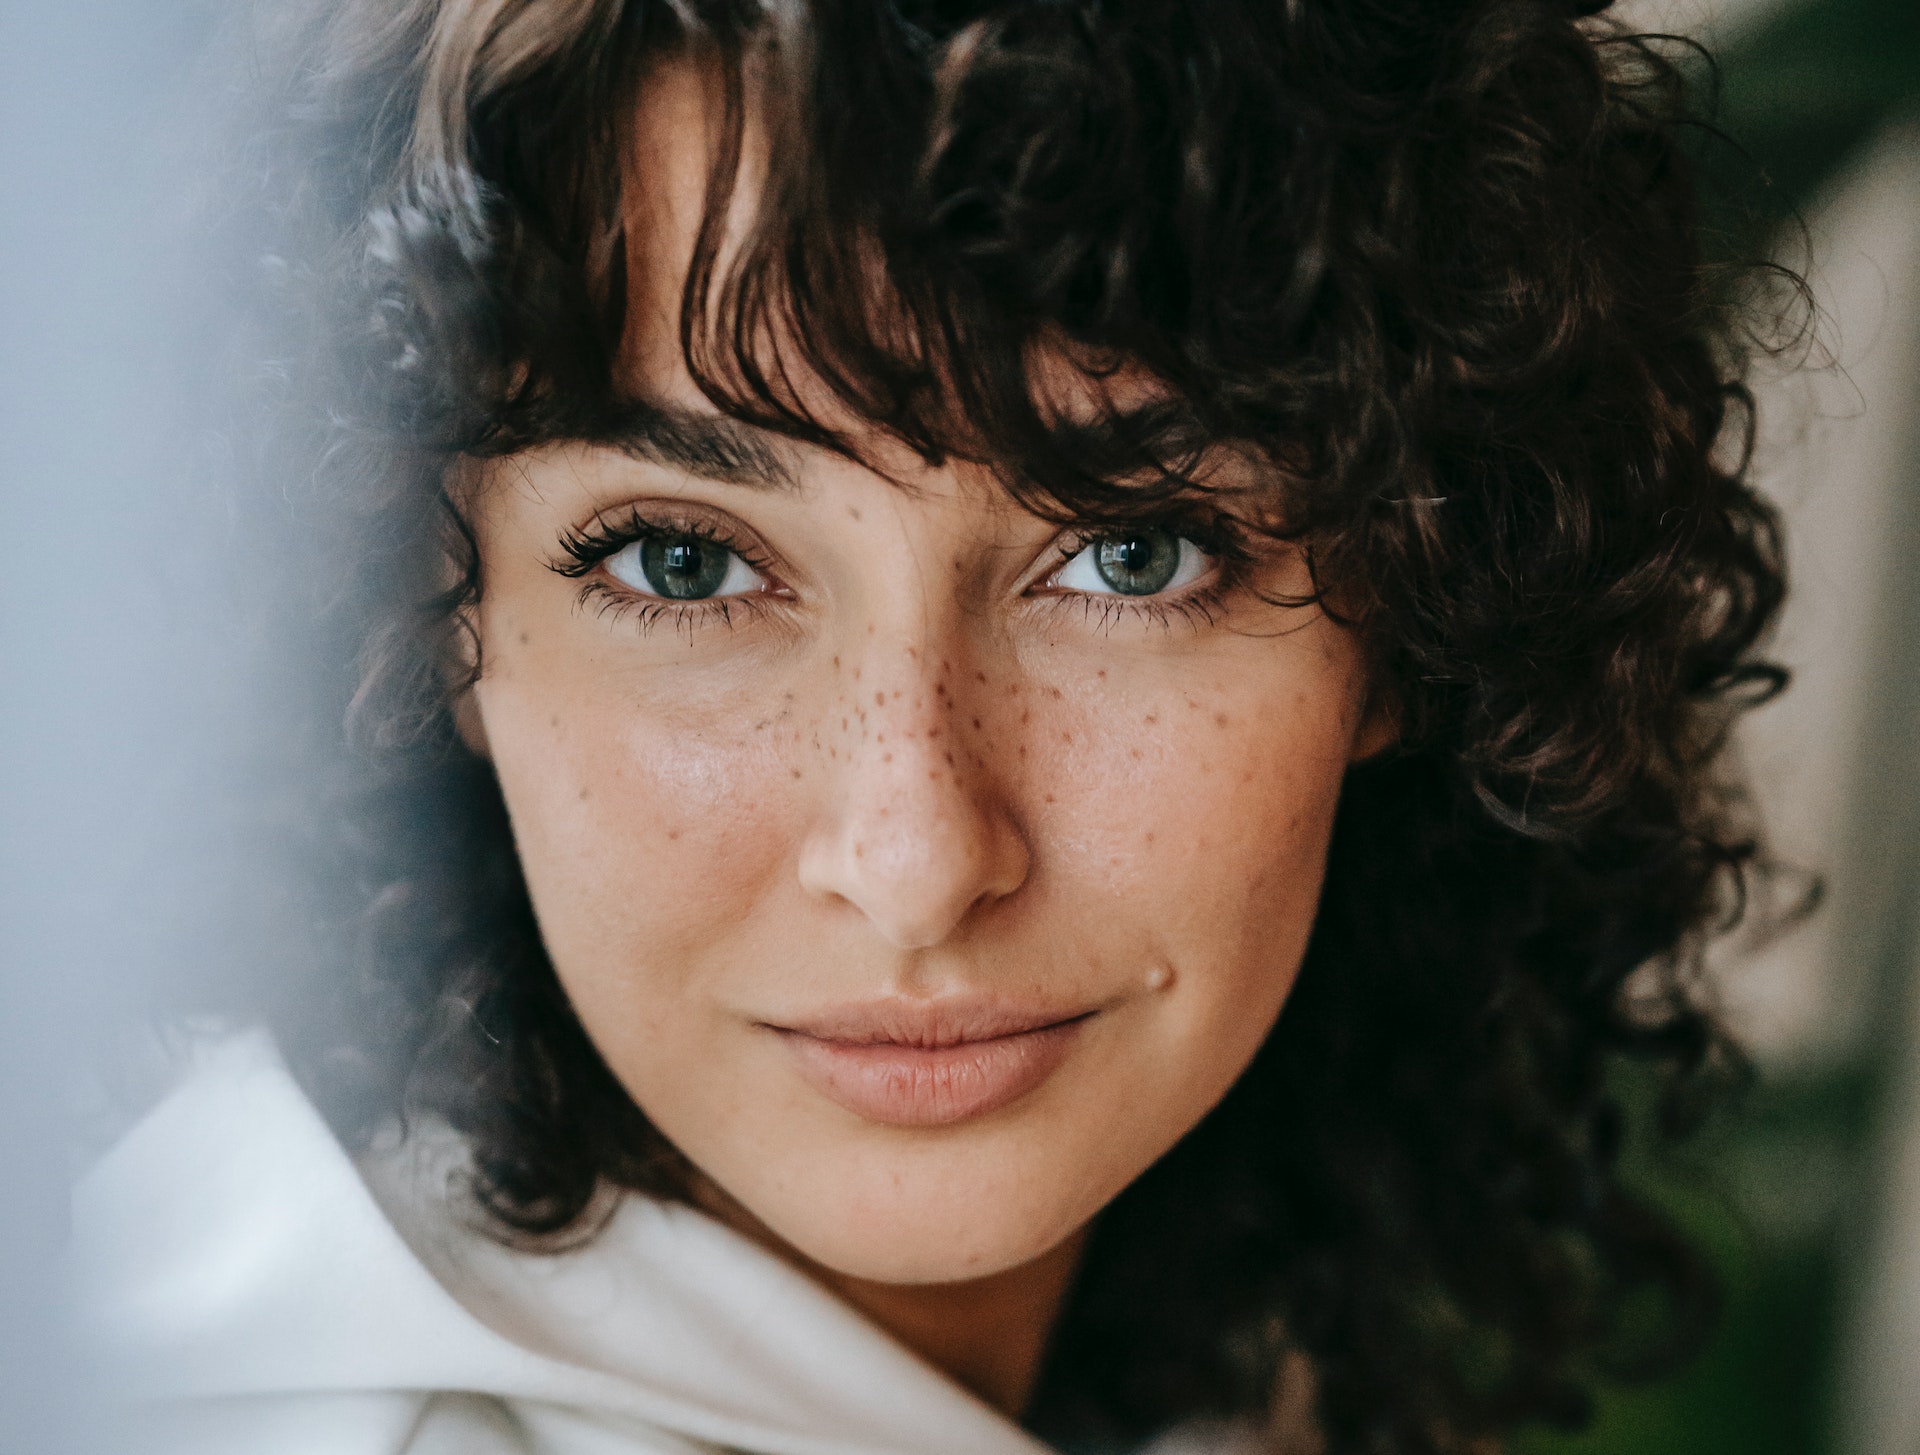
Ask most people which side is their “good side” and they’ll guess. In a headshot, the angle of your face, the position of your head and the line of your shoulders do as much work as the lighting. The good news: you don’t need to know any of it before you arrive. Guiding it is my job. Here’s what I’m looking at when I adjust you in front of the camera.
1. Camera height
The camera sits roughly at eye level or slightly above. Much lower and the viewer looks up your nose and under your jaw. Much higher and you can look small, as if the viewer is looking down on you. For most professional headshots, a lens just above the eyes is the most flattering and the most neutral.
2. Turning the face and shoulders
Facing the camera squarely, shoulders and all, tends to look stiff and wide. Turning the shoulders slightly away while bringing the face back toward the lens creates depth and a more natural, open feeling. How far we turn depends on your face and on the message: a straighter pose reads as direct and authoritative, a softer angle as approachable.
3. Your “good side”
Most faces are slightly asymmetrical: one eye a little more open, a part in the hair, a smile that lifts more on one side. I photograph both sides early in the session and we look at them together on screen. Often the difference is obvious once you see it; sometimes both work, and we keep both.
4. Head position: forward and slightly down
Nervous people pull their head back. That softens the jawline and can create a double chin even on a slim face. Bringing the face slightly forward toward the camera, with the chin just a touch down, defines the jaw and gives the portrait presence. It feels odd for a moment and looks natural in the image.
5. Posture and shoulders
Posture shows in the face, even in a tight crop. I’ll ask you to sit or stand tall, drop your shoulders away from your ears and breathe out before the shot. Small details, like which shoulder is closer to the camera or where your hands are, change whether you look relaxed or rigid.
6. Framing and crop
A headshot is usually cropped from mid-chest up, with your eyes in the upper third of the frame. Modern crops are often tighter than traditional portraits, so the viewer connects with your eyes even when the image is shown small on LinkedIn or a team page. I always leave enough room around you so the image can be cropped square, horizontal or vertical for different uses.
Why you need someone on the other side of the lens
You can’t see your own angles while you hold them, and a mirror shows a reversed face. That’s why every session is built on guided variations: small adjustments, one at a time, reviewed together on screen. Posing is one of the seven elements I control in every session, along with light, composition, expression, wardrobe, accessories and hair. You can see how they come together on my headshot photographer in Indianapolis page.
For the face itself, read how to look confident and approachable in your headshot.
Frequently asked questions
Do I need to practice poses before my session?
No. Arrive relaxed and I’ll guide every position. Practiced poses are often harder to correct than natural ones.
What if I don’t like my profile?
We’ll find an angle that works for you and show it to you on screen before moving on. You’ll never leave without seeing options you’re comfortable with.
Ready for a headshot that looks like you on your best day?
Every session includes expression coaching and professional retouching, in my studio in Indianapolis or at your office. See sessions and rates, or tell us what you need and we’ll help you plan it.